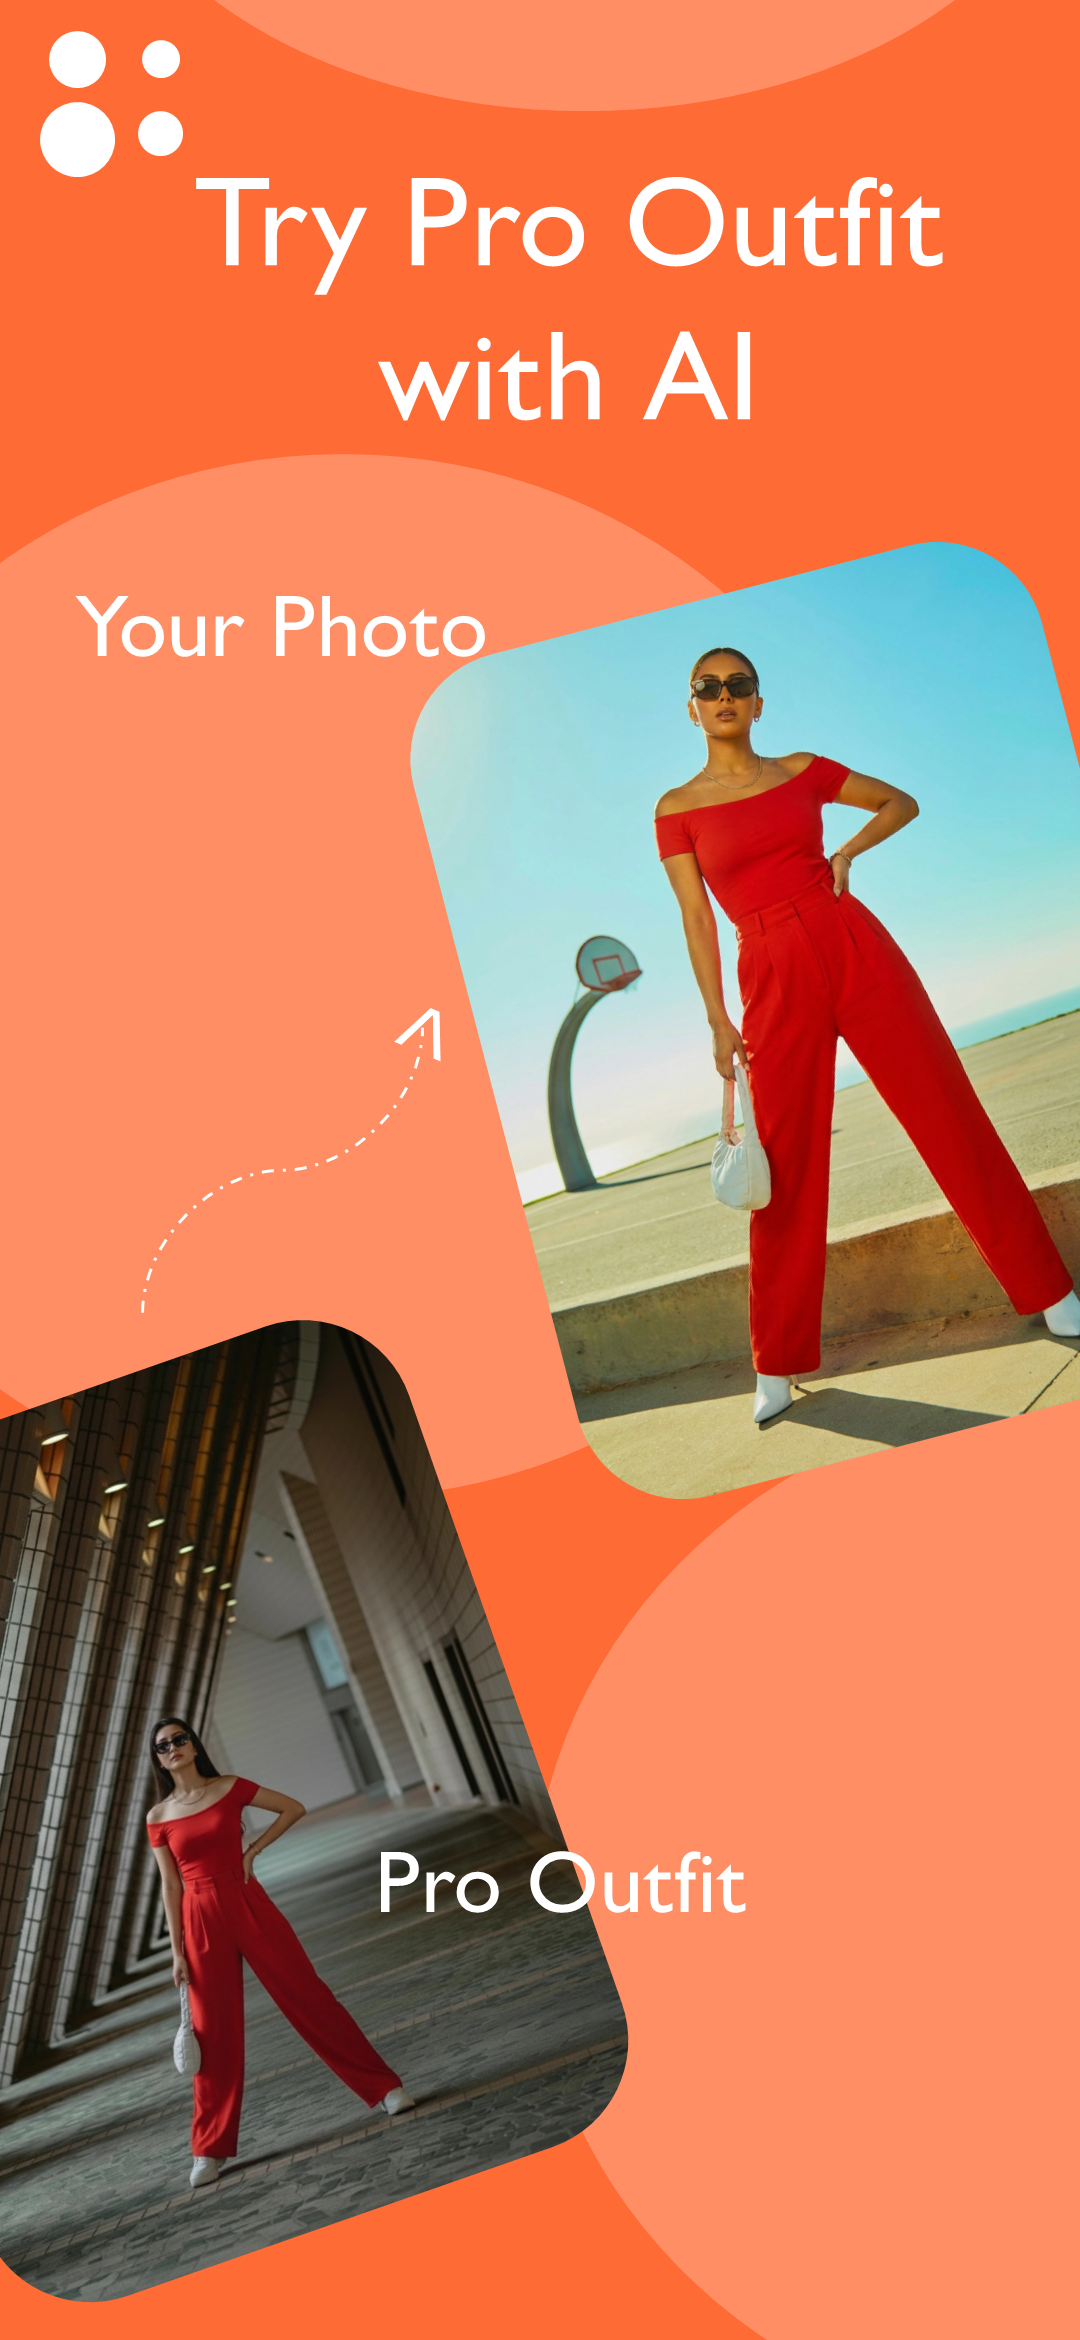
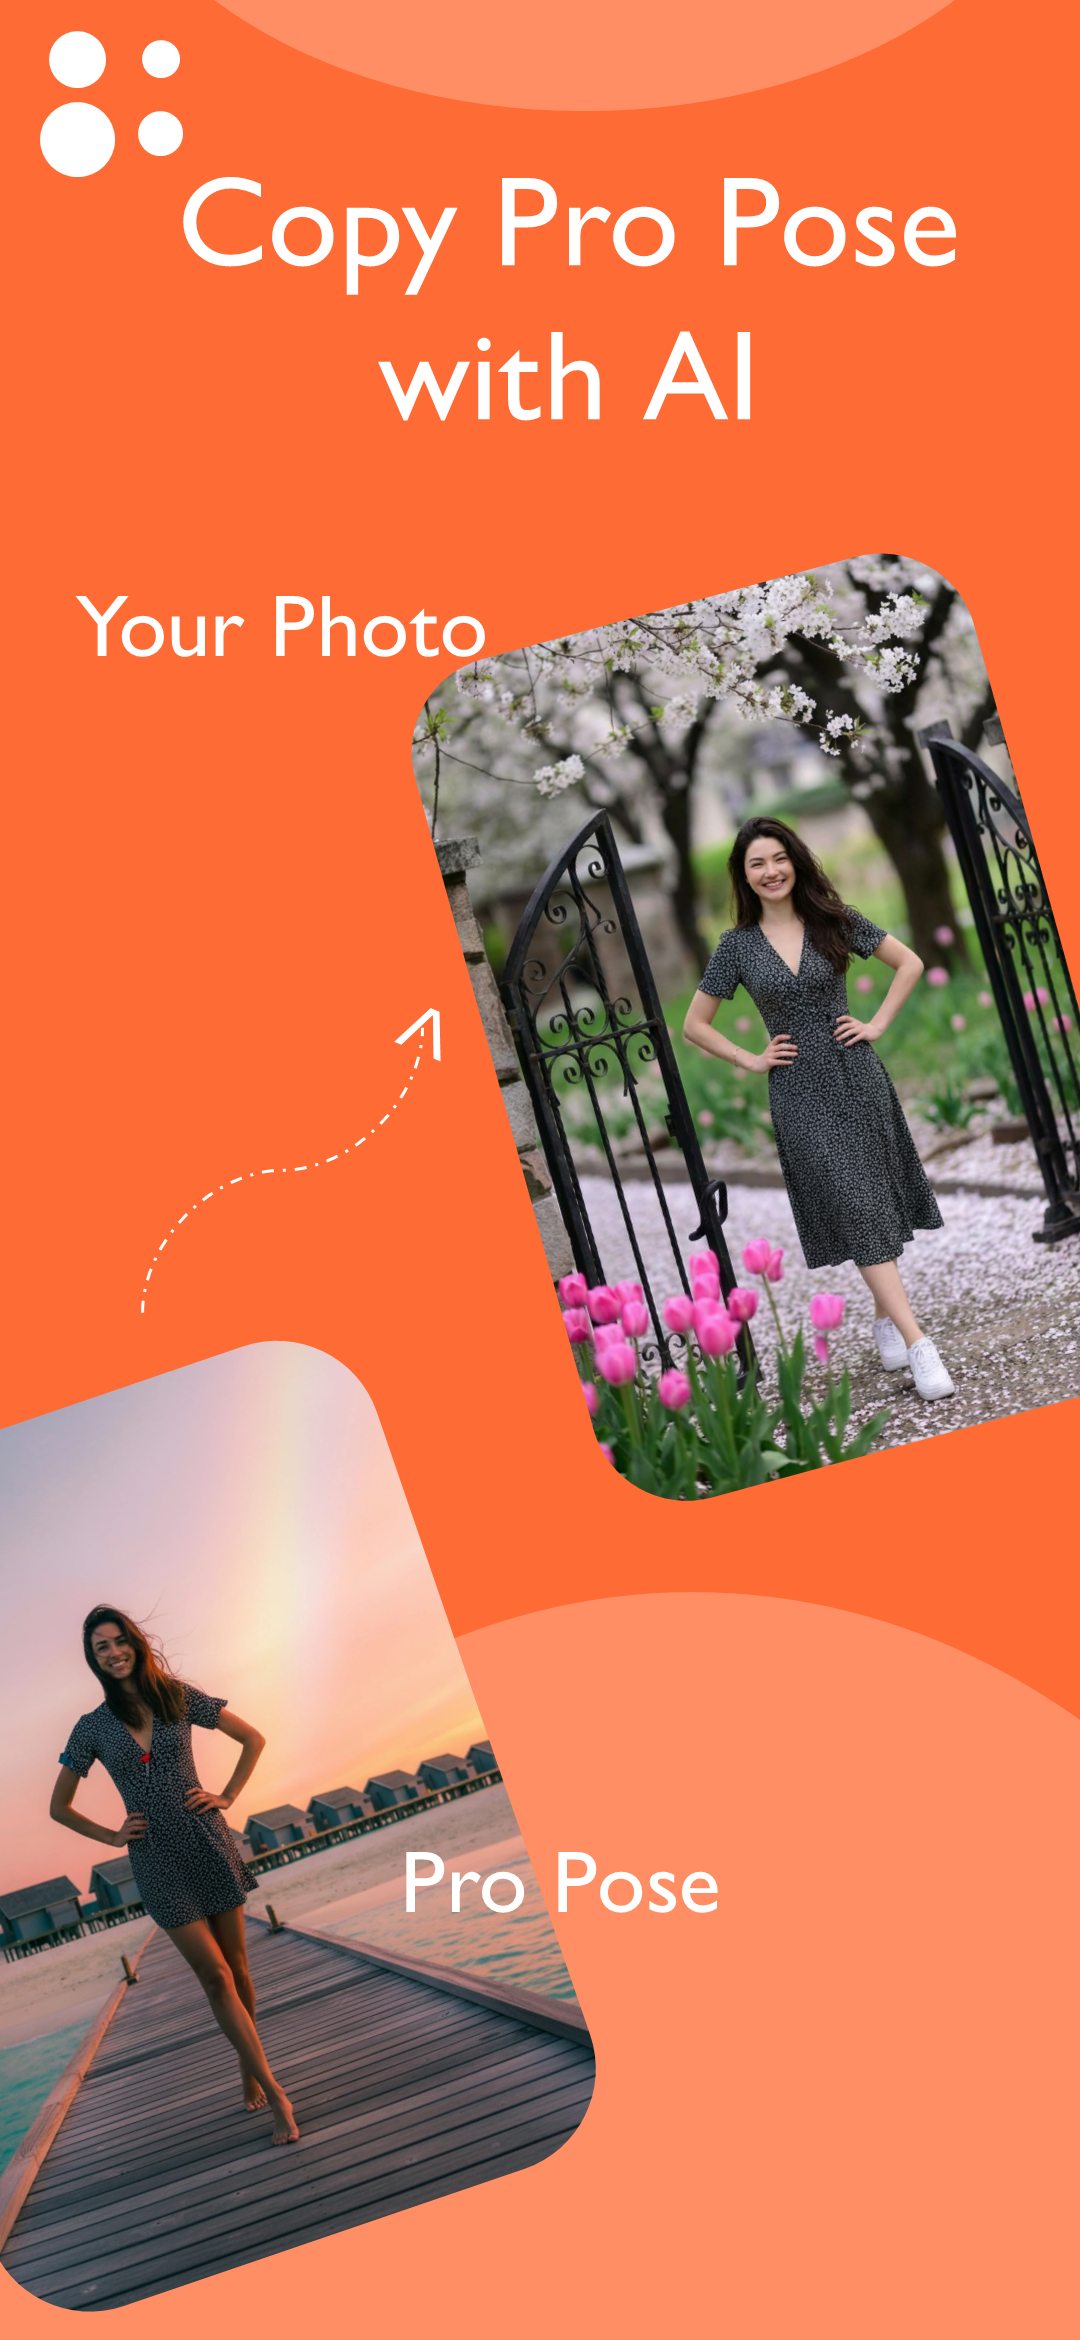
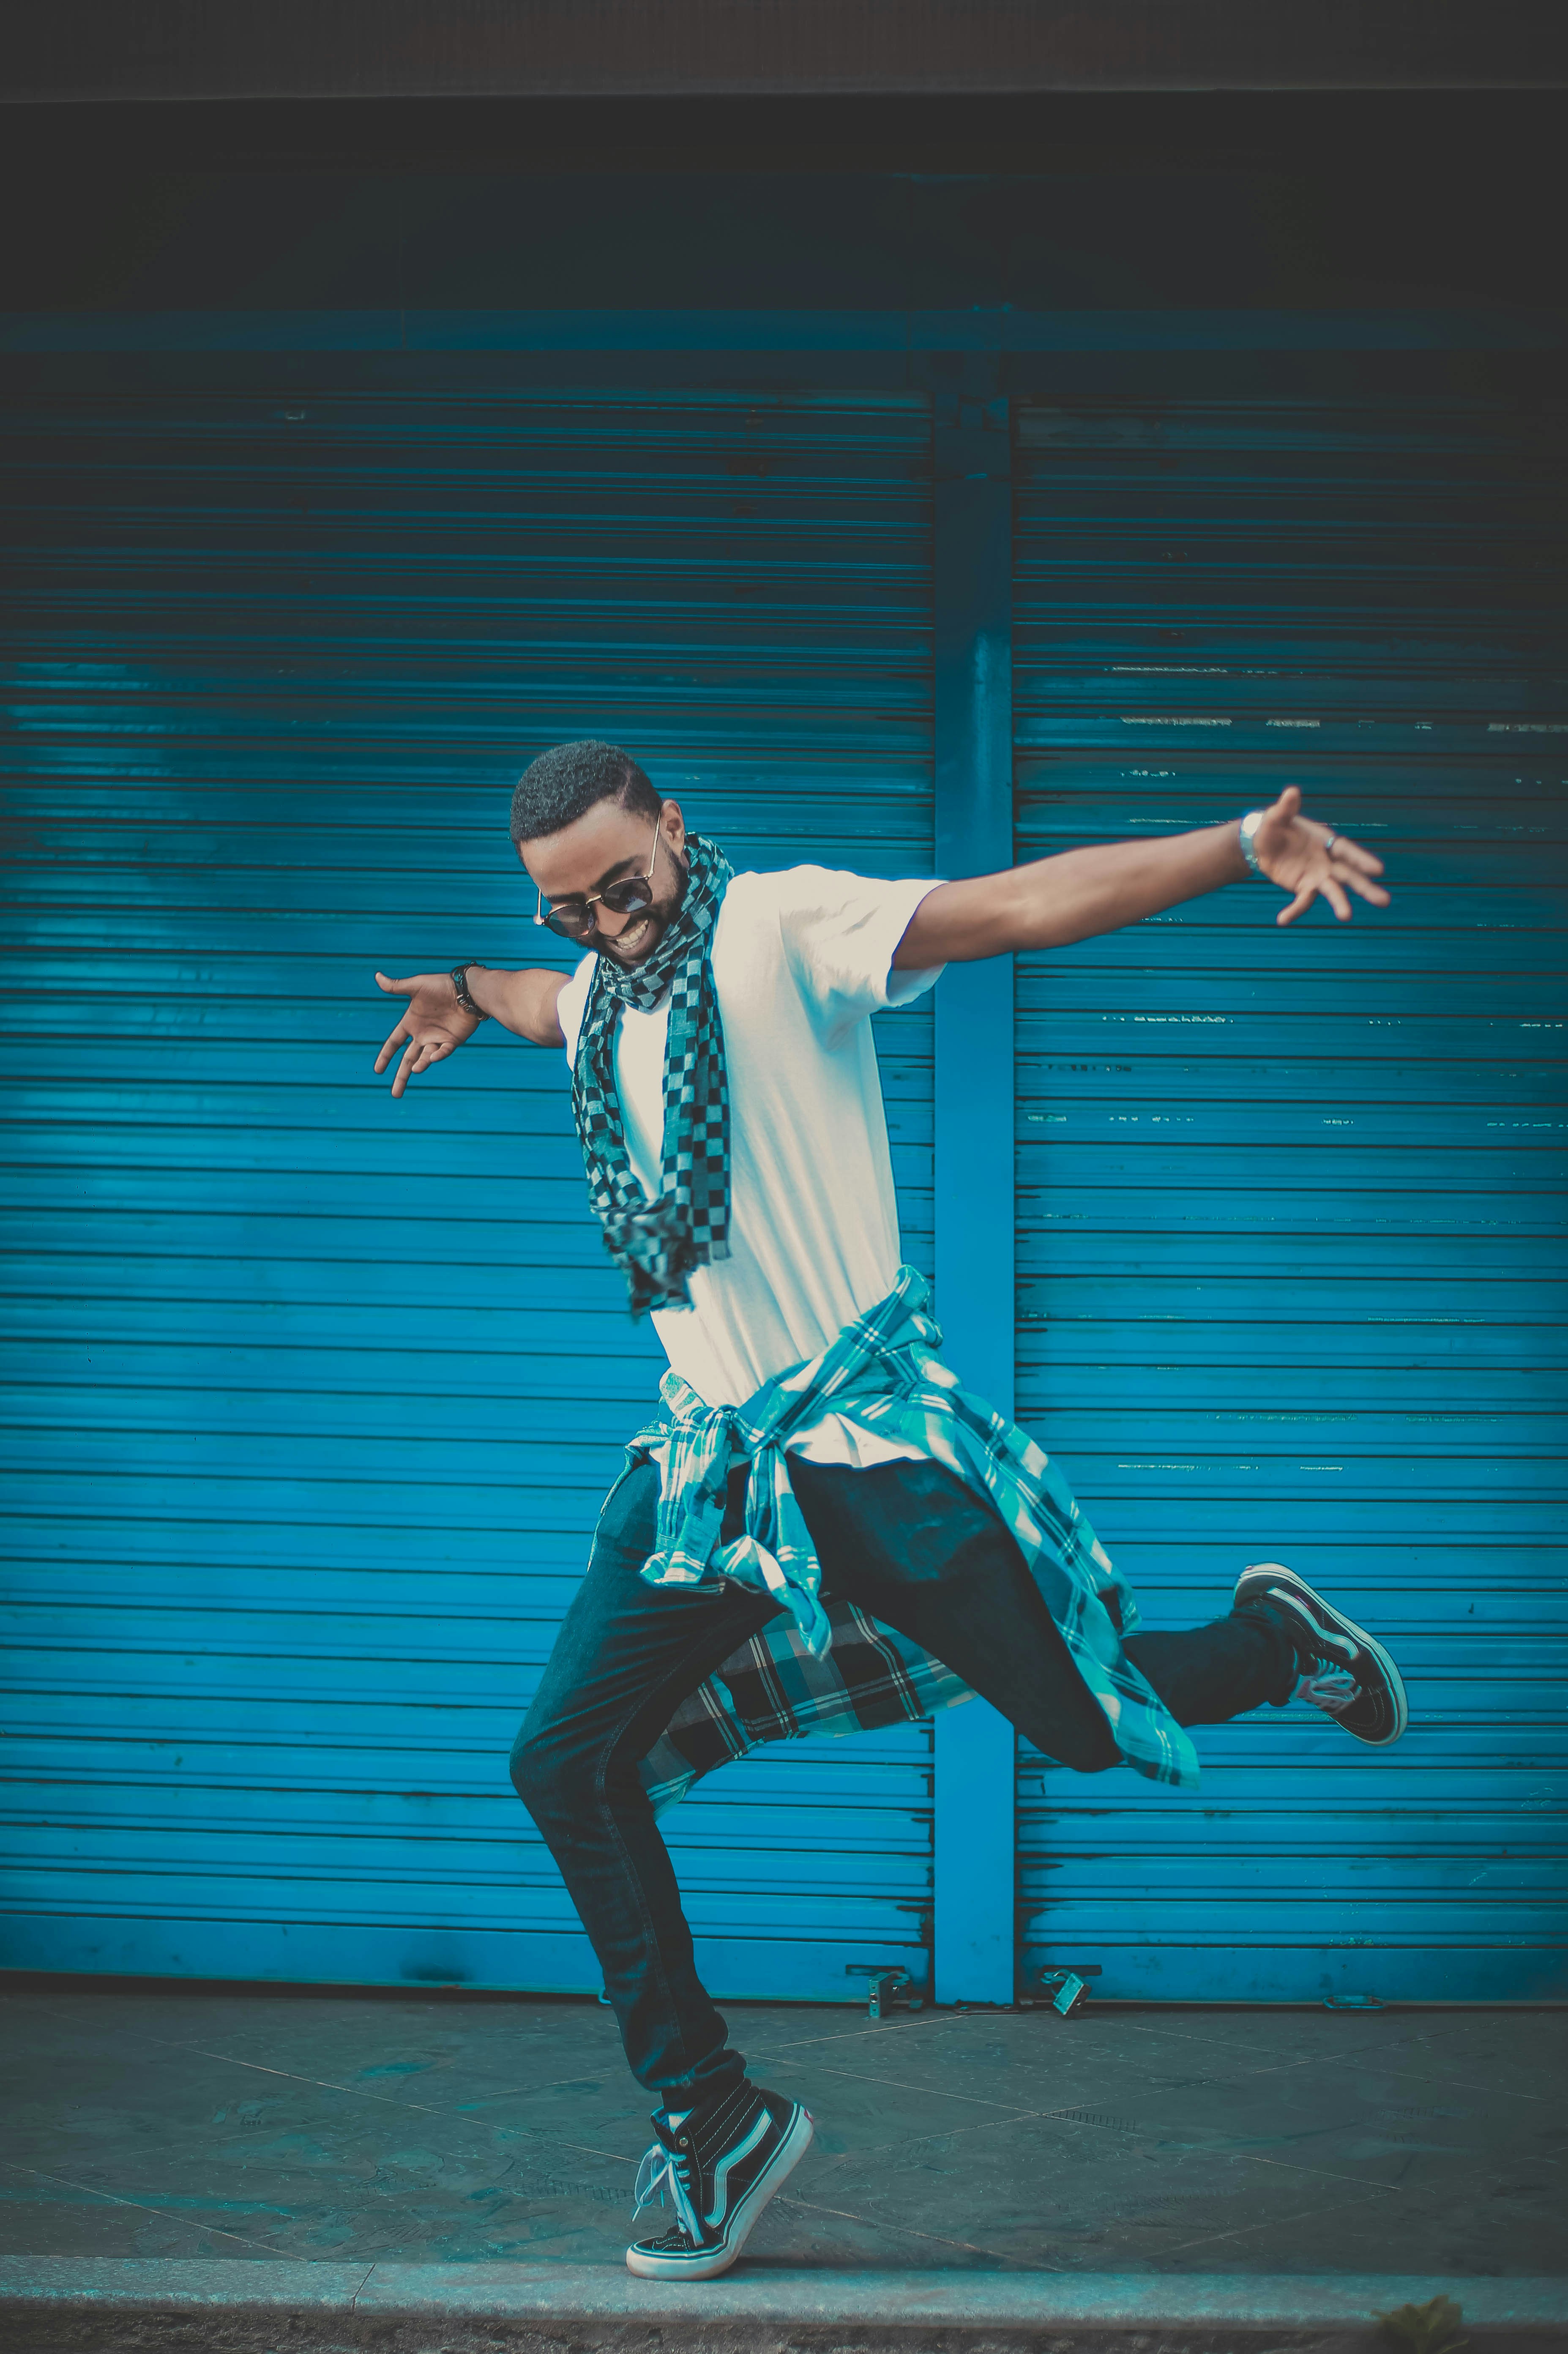
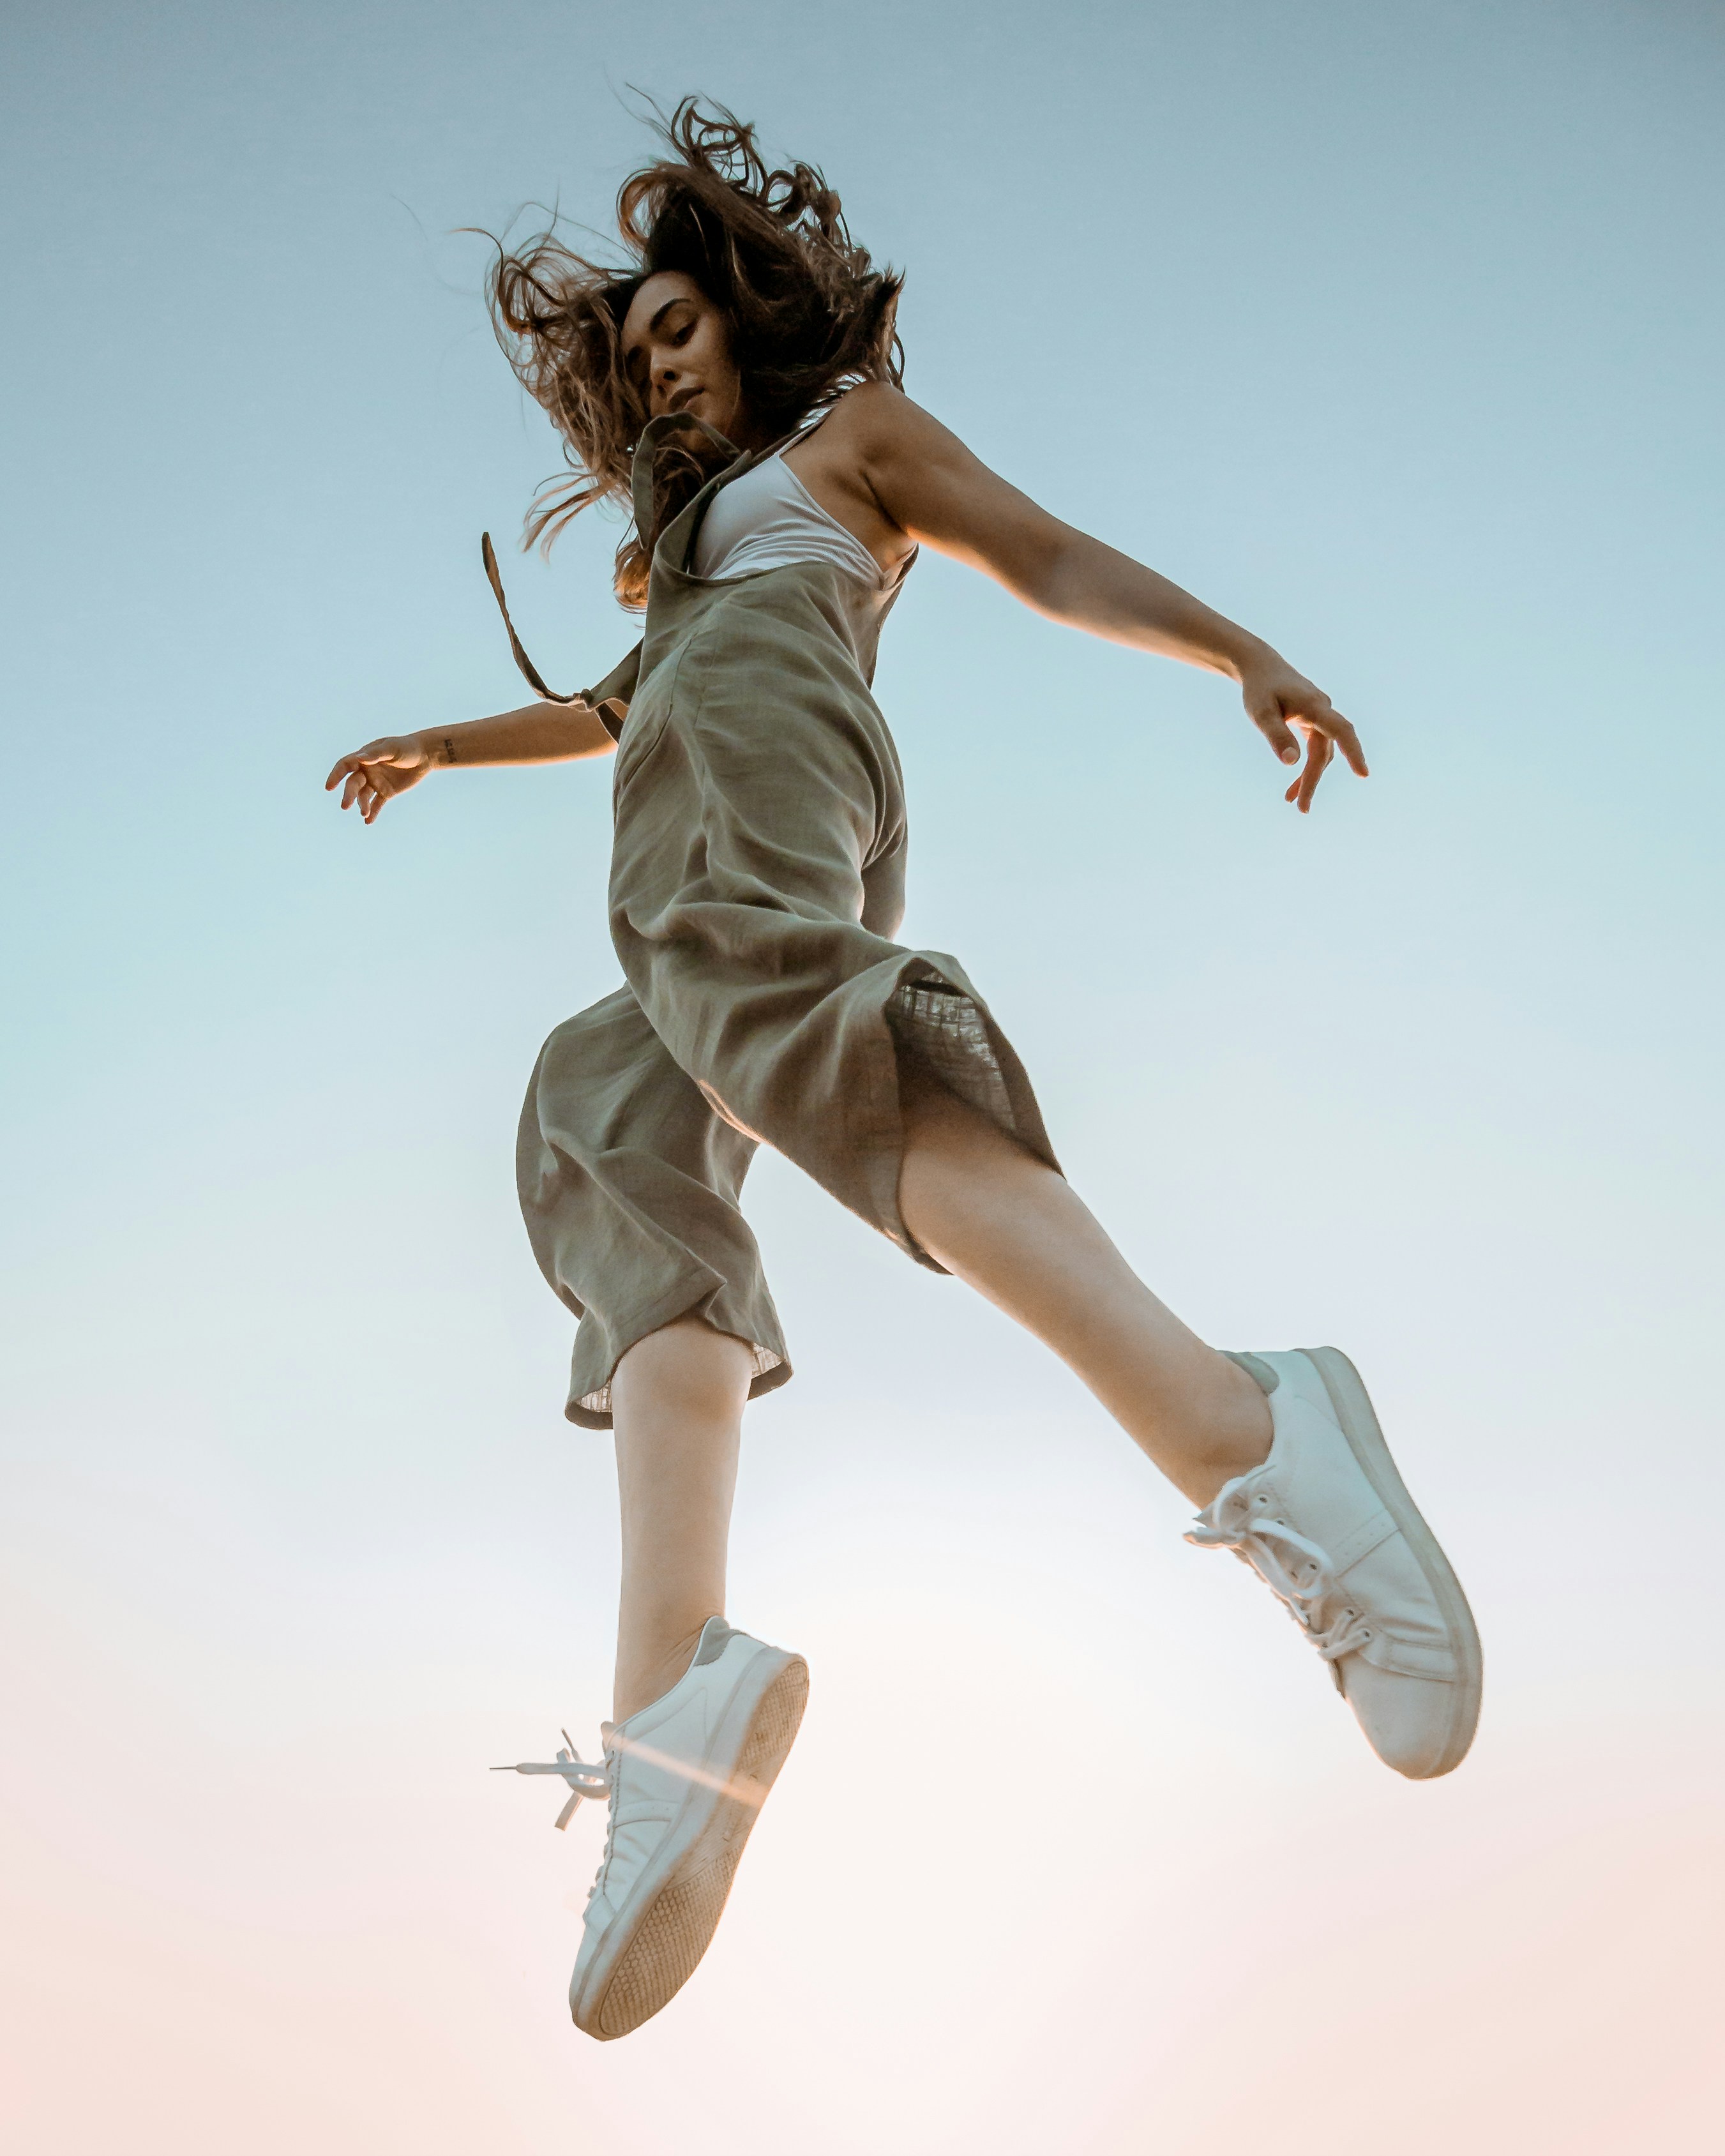
Have you planned your photo poses for the trip?
Check out the pose collections in our app
Best Times Summary
| Location |
Best Time |
Why? |
| Burj Plaza / Wings |
7:30 AM |
Perfect lighting, zero tourists. |
| Dubai Creek Harbour |
10:00 PM |
Skyline is lit up; crowds have moved to clubs/bars. |
| Fashion Parking Roof |
Any time |
Mostly used for cars; pedestrians rarely go to the top. |
| At The Top (Level 124) |
5:30 AM |
The "Sunrise Ticket" is cheaper and much quieter. |
1. The "Insider" Urban Spots (Low Crowd)
1
INSTAGRAM FAVORITE
Dubai Design District (d3)
The Avant-Garde Framing
When I first visited Dubai Design District, I was surprised by how few people were there compared to the Dubai Mall area. The wide concrete avenues and waterfront paths offer a perfectly centered view of the Burj Khalifa from across the creek with almost no tourist foot traffic. After shooting here multiple times, I found that this location works best with a 24-70mm lens because it allows you to capture both the modern architecture of d3 and the tower in a balanced composition.
The Shot:
When I shot at this location, I found that positioning myself along the waterfront paths provided the best framing. The wide concrete avenues create leading lines that naturally draw the eye toward the Burj Khalifa. I used a 24mm focal length to capture both the foreground architecture and the tower, which created a nice sense of scale and depth.
Why It's Special:
During my visits, I rarely encountered more than a few other photographers. The area is spacious enough to experiment with different angles without feeling rushed. I found that the waterfront location adds depth to photos, especially when shooting during golden hour when the water reflects the warm light.
Pro Tip:
I visited during both sunrise and sunset, and sunset worked better for me because the warm light hits the concrete buildings beautifully. I used an aperture of f/8 to keep everything sharp from foreground to background. For phone photography, the 0.5x wide-angle mode works well here, but I found that stepping back slightly and using the standard 1x mode often produced better results because it reduced distortion.
2
The "Viewing Point" at Dubai Creek Harbour
The Skyline Silhouette
I discovered this 70-meter walkway during an evening shoot, and it quickly became one of my favorite spots. The walkway extends over the water, providing a full skyline silhouette including the Burj Khalifa. While it's popular for sunset, I found that arriving around 10:00 PM gave me the entire walkway to myself, and the illuminated skyline looked even better than during sunset.
The Shot:
When I shot here, I used a 16-35mm wide-angle lens to capture the full skyline. The walkway's elevated position over the water creates natural leading lines. I found that positioning myself at the far end of the walkway, looking back toward the city, provided the best composition with the Burj Khalifa centered in the frame.
Best Time:
I tried both sunset and 10:00 PM, and 10:00 PM worked better for me. The skyline is fully lit up, and by that time, most people have moved to restaurants and clubs. During my visit, I had the entire walkway to myself for about 20 minutes, which gave me plenty of time to experiment with different compositions.
Pro Tip:
I brought a tripod and found that long exposures (8-15 seconds at f/11, ISO 100) worked beautifully here. The water becomes smooth, and the city lights create nice light trails. For phone photography, use night mode with a 3-second exposure if your phone supports it. I also found that shooting in portrait orientation worked better than landscape because it emphasized the height of the Burj Khalifa against the skyline.
3
Business Bay Canal (Near the Waterfall)
The Unique Foreground
I found this spot by accident when walking along the Business Bay Canal. Instead of heading toward the Dubai Mall side, I walked toward the Business Bay end and discovered the "Rainbow" waterfall under Sheikh Zayed Road. The walkways here are usually occupied only by local joggers, making it much less crowded than the Dubai Mall promenade.
The Shot:
When I shot at this location, I used a 50mm lens because it compressed the scene nicely, making the waterfall and Burj Khalifa appear closer together. I positioned myself so the waterfall was in the foreground, creating a natural frame for the tower. The combination of the moving water and the static tower created a nice contrast.
Why It's Special:
During my visits, I only encountered a few joggers, never any tourists. The waterfall adds visual interest and movement to photos, which makes them stand out on social media. I found that this spot offers a completely different perspective compared to the typical Burj Khalifa shots you see online.
Pro Tip:
I tried shooting during both day and night, and both worked well. During the day, I used a faster shutter speed (1/250s) to freeze the water, which created nice detail. At night, I used a slower shutter speed (1/4s) to create a silky water effect. I found that an aperture of f/5.6 worked best because it kept the waterfall sharp while slightly blurring the background, making the Burj Khalifa stand out more.
2. The "Hack" Elevated Views
4
HOLY GRAIL VIEW
Shangri-La Hotel (Level 42)
The "Above the Clouds" Look
I visited the Shangri-La Hotel lounge on Level 42 specifically to photograph the Burj Khalifa from this elevated perspective. While it requires booking a room or visiting the lounge, the view is worth it. I found that this spot offers the "above the clouds" look without the long queues at the official observation deck, and the balcony provides more space to work with.
The Shot:
When I shot from Level 42, I used a 70-200mm telephoto lens because it allowed me to compress the scene and create a more intimate view of the Burj Khalifa. The elevated position provides a unique angle that's impossible to achieve from ground level. I found that shooting through the glass railing worked fine, but I had to be careful about reflections.
How to Access:
I visited the lounge rather than booking a room, which was more affordable. The lounge access gave me about 2 hours to shoot, which was plenty of time. I called ahead to make a reservation, and they were accommodating about photography. The staff didn't mind me moving around the balcony to find different angles.
Pro Tip:
I visited during sunset and stayed until after dark, which gave me both golden hour and night shots. I found that using a polarizing filter helped reduce glass reflections. For phone photography, I pressed the lens directly against the glass to minimize reflections. The balcony wraps around, so I moved to different positions to find the best angle. I used an aperture of f/8 to keep everything sharp, and I found that ISO 400 worked well for the evening light without introducing too much noise.
5
Dubai Mall Fashion Parking (Top Floor)
The Local Secret
A local photographer friend told me about this spot, and it's become one of my go-to locations. The roof of the Fashion Parking structure offers a massive, unobstructed view of the tower, and it's completely free. During my visits, I've always had the entire roof to myself, which is rare in Dubai.
The Shot:
When I shot here, I used a 24mm wide-angle lens to capture the full height of the Burj Khalifa. The elevated position combined with the wide-open space allows for creative compositions. I found that positioning myself at different corners of the roof gave me completely different perspectives of the tower, so I spent time exploring all angles.
Why It's Special:
It's free and accessible 24/7. During my multiple visits, I never encountered more than one or two other cars on the top floor. Most people are inside the mall shopping, so the roof is typically empty. This gives you complete freedom to set up shots without worrying about crowds or time limits.
Pro Tip:
I visited during both sunrise and sunset, and I preferred sunset because the warm light hits the Burj Khalifa beautifully. I brought a tripod and found that the roof is stable enough for long exposures. I used an aperture of f/11 to keep everything sharp, and I experimented with both wide-angle shots and tighter compositions using a 70-200mm lens. For phone photography, the 0.5x wide-angle mode works perfectly here. Just be mindful of vehicles, though the top floor is usually quiet.
6
Sky Views Observatory (Edge Walk area)
The Clean Glass Slide
I booked the sunrise session at Sky Views Observatory specifically to avoid crowds, and it was worth it. The morning session had maybe 10-15 people compared to the 50+ I saw during sunset when I visited later. The "Glass Slide" photos look much cleaner in the morning light, and I had more time to experiment with different angles.
The Shot:
When I shot the Glass Slide, I used a 16-35mm wide-angle lens to capture both the transparent floor and the Burj Khalifa in the background. I found that shooting from a low angle, almost lying down, created the most dramatic effect. The glass floor creates a unique perspective that you can't get anywhere else in Dubai.
Best Time:
The sunrise session I attended had significantly fewer people, which meant I could take my time setting up shots without worrying about people walking into my frame. The morning light was cleaner and more directional, creating better contrast than the softer evening light. I also found that there were fewer reflections on the glass during sunrise.
Pro Tip:
I booked the sunrise session about a week in advance, and I'm glad I did because it was much more relaxed. I brought a polarizing filter, which helped reduce glass reflections significantly. For the Glass Slide shots, I used an aperture of f/5.6 to keep the floor and background sharp, and I found that ISO 400 worked well for the morning light. The Edge Walk area offers different angles, so I spent time exploring all positions. For phone photography, clean the glass with a microfiber cloth first to reduce smudges and reflections.
3. Quiet Parks & Artistic Frames
7
Burj Plaza (Wings of Mexico)
The Perfect Frame
I arrived at Burj Plaza at 7:30 AM on a weekday, and I had the entire area to myself for about 45 minutes. The Wings of Mexico statue creates a perfect frame for the Burj Khalifa, and the early morning light was ideal. By 8:30 AM, a few tourists started arriving, so timing is crucial here.
The Shot:
When I shot here, I used a 35mm lens because it provided a natural perspective that matched what the human eye sees. I tried several positions - standing between the wings, standing to the side, and using the wings as a foreground element. I found that standing slightly to the left of center, with the wings framing the Burj Khalifa, created the best composition.
Best Time:
I visited at 7:30 AM and had perfect lighting with zero tourists. The early morning light was soft and directional, creating nice shadows on the wings. By 8:30 AM, a few people started arriving, and by 9:00 AM, there was a small queue forming. If you want the place to yourself, arrive before 8:00 AM.
Pro Tip:
I used an aperture of f/4 to slightly blur the background while keeping the wings sharp, which made the Burj Khalifa stand out more. The morning light creates beautiful shadows and highlights on the wings, so I shot from multiple angles to capture different lighting effects. For phone photography, use portrait mode to blur the background slightly, which creates a similar effect. I found that shooting in portrait orientation worked better than landscape because it emphasized the height of both the wings and the tower.
8
Al Khazzan Park
The Unique Frame
I discovered Al Khazzan Park while exploring areas away from the main tourist spots. The small sustainable park features a water tower that creates a natural frame for the Burj Khalifa. During my visit, I was the only person there, which is rare in Dubai. This hidden gem offers a completely different perspective that most visitors never discover.
The Shot:
When I shot here, I used a 50mm lens to compress the scene and make the water tower and Burj Khalifa appear closer together. I positioned myself so the water tower was in the foreground, creating a natural frame for the tower. The park's sustainable design elements added visual interest to the composition, so I incorporated them into my shots.
Why It's Special:
During my visit, I had the entire park to myself for over an hour. It's almost never on a tourist itinerary, which means you can take your time without feeling rushed. The park's design and the water tower create a unique framing opportunity that's completely different from typical Burj Khalifa photos, making your content stand out.
Pro Tip:
I visited during both day and sunset, and I preferred sunset because the warm light hit the water tower beautifully. The park is small, so I explored different angles to find the best framing. I used an aperture of f/5.6 to keep the water tower sharp while slightly blurring the background, which made the Burj Khalifa stand out. For phone photography, use portrait mode to create a similar depth effect. The sustainable design elements add visual interest, so don't be afraid to include them in your composition.
9
South Ridge Park
The Bottom-to-Top View
I found South Ridge Park while looking for quieter alternatives to Burj Park. This residential park offers a "bottom-to-top" view of the Burj Khalifa across a lush green lawn. During my visit, I only encountered a few families with children playing, making it much quieter than the main tourist areas.
The Shot:
When I shot here, I used a 24mm wide-angle lens to capture the full height of the Burj Khalifa with the green lawn in the foreground. I tried both standing and lying down positions, and I found that a low angle (almost ground level) created a more dramatic perspective. The greenery provides a natural, organic foreground that contrasts beautifully with the modern architecture of the tower.
Why It's Special:
It's significantly quieter than Burj Park, which I appreciated. The residential location means fewer tourists, and the park's design creates a more intimate, relaxed atmosphere. During my visit, I had plenty of space to set up my tripod and experiment with different compositions without feeling rushed or crowded.
Pro Tip:
I visited during golden hour, and the warm light on the green lawn was beautiful. I used an aperture of f/8 to keep everything sharp from foreground to background. The open space allows for creative compositions - I tried lying down for a unique low-angle shot, which worked really well. I also used the lawn as a leading line toward the tower, which created a nice sense of depth. For phone photography, use the 0.5x wide-angle mode and get low to the ground for a more dramatic perspective.
Essential Tips for Capturing the Perfect Burj Khalifa Photo
Timing is Everything:
Through my experience shooting at these locations, I found that early morning (7:00-9:00 AM) consistently offers the best lighting and minimal crowds. I visited Burj Plaza at 7:30 AM and had it to myself for 45 minutes. For evening shots, 10:00 PM works well when crowds have moved to restaurants and clubs - I had Dubai Creek Harbour completely to myself at that time. I avoid peak tourist hours (10:00 AM - 1:00 PM) because the harsh midday light and crowds make it difficult to get good shots.
Elevation or Distance:
After shooting at multiple locations, I learned that prioritizing elevation (like parking roofs or hotel balconies) or distance (like Dubai Design District or Dubai Creek Harbour) consistently produces better results than standing at the base. These locations offer unique perspectives and fewer crowds. The Fashion Parking roof became one of my favorites because it's free and always empty.
Camera Settings:
Based on my experience, here's what worked best: For wide shots with foreground elements, I used a 24mm lens at f/8 to keep everything sharp. For compressed shots (like Business Bay Canal), I used a 50mm lens at f/5.6. For elevated views, I used a 70-200mm telephoto lens to compress the scene. For phone photography, I found that the 0.5x wide-angle mode works well for most locations, but sometimes the standard 1x mode produces better results with less distortion. For night shots, I used night mode with a 3-second exposure when available.
Composition Tips:
I found that unique foreground elements (waterfalls, statues, architecture) help frame the Burj Khalifa and create more interesting compositions. The Wings of Mexico statue and the Business Bay waterfall both worked well as foreground elements. I also used leading lines (canals, walkways, roads) to draw the eye toward the tower. Experimenting with different angles helped - I found that low angles make the tower appear more dramatic, while elevated views offer unique perspectives you can't get from ground level.
Respect the Space:
During my visits, I always tried to be mindful of other visitors and local residents. At hotel balconies and paid attractions, I followed the rules and was considerate of other guests. At public spaces like parks, I avoided blocking pathways and kept my setup compact. I found that being respectful and friendly often led to better photo opportunities, as people were more willing to give me space when I needed it.
Ready to Capture Your Perfect Burj Khalifa Photo?
Download frshpose to discover more photography spots, get expert pose guides, and transform your travel photos into professional-quality images. Plan your perfect Dubai photo itinerary with our comprehensive guides.
▶